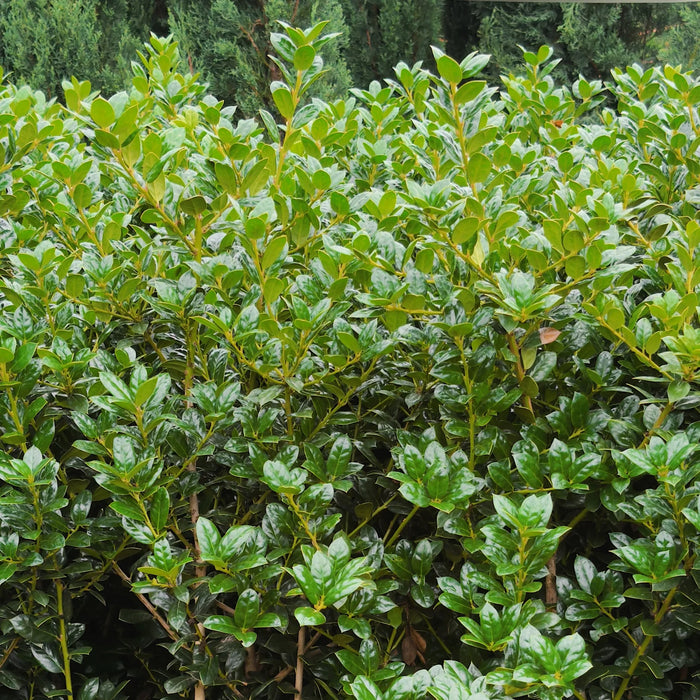
Home / Privacy Screen / Dwarf Burford Holly
Dwarf Burford Holly
Dwarf Burford Holly
Dwarf Burford Holly
Dwarf Burford Holly
Dwarf Burford Holly
1 / 5
Evergreen Shrub

Dwarf Burford Holly

3.7/5 3 reviews
Will it grow where you live?

Zones 7-9

Size: 3 gallon
$60
Get it soonShips in 1–5 days · Free shipping over $249
Buy more, save moreSale ends 11/30 at 11:59PM CST

Save up to $1,000 on your whole cart.

Free shipping$249+
Automatic
10% offAny 2 items
$50 off$350+
$125 off$750+
$300 off$1,500+
$500 off$2,500+
$750 off$3,250+
$1,000 off$4,000+

Your code will auto-apply at checkout.

1-year guaranteeShips in 1–5 daysReal plant experts

From our farm to your front door

  • Shipped in its nursery pot, so the roots stay undisturbed
  • Soil secured so it stays put in transit
  • Packed so the plant stays steady on the way to you

At a glance

Sunlight
Full Sun, Partial Sun
Water
When the top 2" of soil is dry
Growth & size
Moderate growth rate; reaches a mature height of 4-6 feet and a width of 3-5 feet.
Botanical name
Ilex cornuta 'Dwarf Burford'
Hardiness
Zones 7-9
Tolerates
Cold hardyHeat tolerantHumidity tolerantDrought tolerantCoastal tolerantWind tolerant
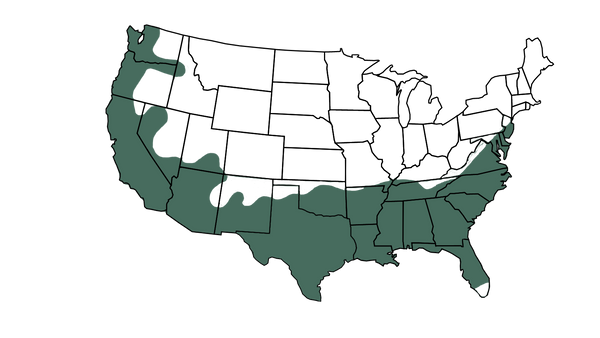
USDA zone map for Dwarf Burford Holly

Where it grows in the groundShaded areas are the zones where it can be planted outdoors.

Not sure it'll thrive where you live?Real people who answer questions before and after planting.
Chat now

What customers are saying

3.7
out of 5 · 3 verified reviews

Why customers love it

Dwarf Burford Holly

Healthy, well-rooted plants

Hand-selected and shipped in its nursery pot.
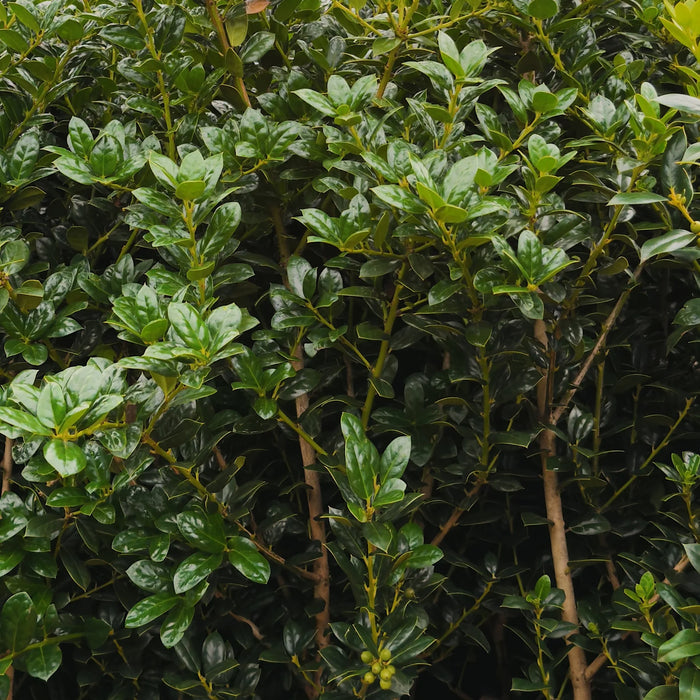
Dwarf Burford Holly

Delivered to your door

Skip the nursery trip. Very little car Tetris required.
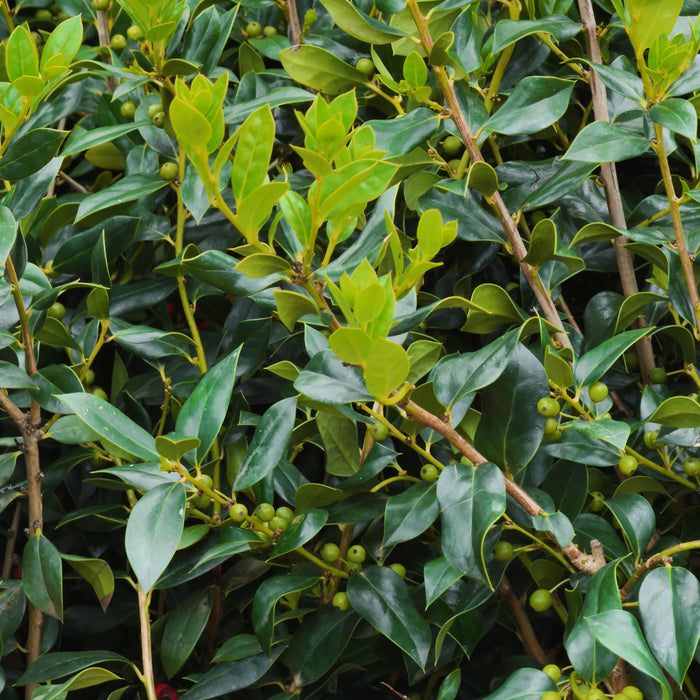
Dwarf Burford Holly

Real plant experts

Ask us anything before or after planting.
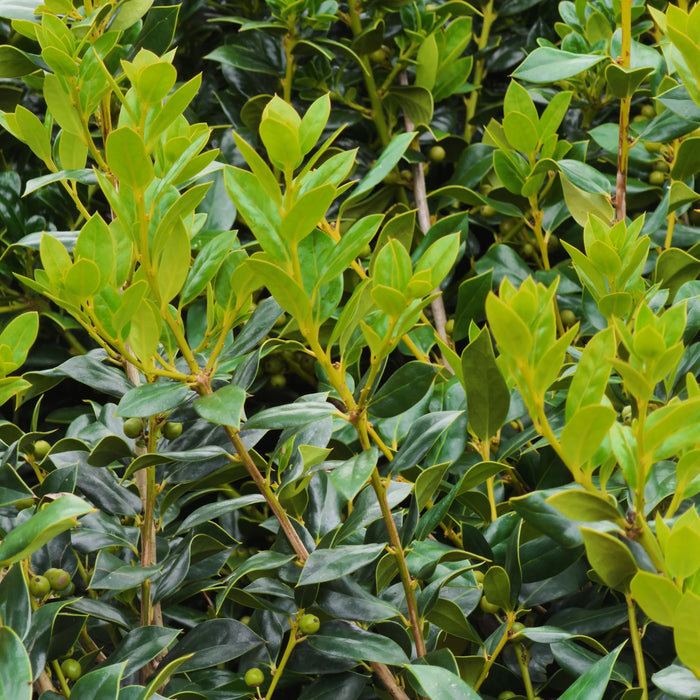
Dwarf Burford Holly

1-year guarantee

If something goes wrong, we'll help make it right.

Care made simple

Plant it right once and it does the rest.

Sun
Full Sun, Partial Sun

Pick the spot before you dig.

Water
When the top 2" of soil is dry

Water slowly and deeply. Check more often in its first summer.

Grows in
Zones 7-9

Enter your ZIP above to check your zone.

Your first year together

  1. 1Day 1

    Plant it, then water slowly until the whole root ball is soaked.

  2. 2First few weeks

    Keep the soil evenly moist while new roots settle in.

  3. 3First summer

    Water deeply during hot, dry spells.

  4. 4Next spring

    New growth starts. Feed as it wakes up.

Planting instructions
Select a location offering good sunlight and well-draining soil. Dig a hole twice as wide and the same depth as the root ball. Place the Dwarf Burford Holly in the hole, ensuring the top of the root ball is level with the ground surface. Refill the hole with soil, gently patting to eliminate air pockets. Water thoroughly after planting. To aid in its early growth stage, maintain consistent moisture levels in the soil for the first few months.
Watering & sunlight
Dwarf Burford Holly prefers locations with full sun to partial shade, which aids in optimal berry production and rich leaf coloration. Regular deep watering is crucial during its initial growth stage, but once established, it exhibits drought tolerance, making occasional watering sufficient.
Care guide

PRUNING:
Prune Dwarf Burford Holly in late winter or early spring to shape the plant and encourage dense, healthy growth. Remove any dead or damaged branches as needed.

FERTILIZING:
Apply a balanced, slow-release fertilizer formulated for acid-loving plants in early spring to support vibrant foliage and berry production. Avoid fertilizing for the first 2–3 months after delivery to allow the plant to adjust and establish.

WINTER PROTECTION:
Dwarf Burford Holly is cold-hardy in its growing zones, but in areas with severe winter conditions, mulching around the base can help regulate soil temperature and protect roots. In very exposed locations, burlap can be used to shield plants from harsh winds.

Shipping & what's inside

Your plant ships in its nursery pot with the soil secured, packed so it stays steady on the way to you.

1-year guarantee

Every plant is covered by our 1-year guarantee. If something goes wrong, contact our team and we'll walk you through it.

Answered by Simply Trees plant experts
How big does a Dwarf Burford Holly get?
Dwarf Burford Holly typically reaches a mature height and width of around 4 to 6 feet, although some specimens may grow slightly taller or wider depending on growing conditions and care. This compact size makes it an ideal choice for smaller landscapes or for planting in containers. Despite its diminutive stature, Dwarf Burford Holly still produces an abundance of glossy green leaves and vibrant red berries, adding year-round interest to garden beds, borders, and foundation plantings. Regular pruning can help maintain its desired size and shape while promoting dense growth and enhancing its ornamental appeal.
How fast does the Dwarf Burford Holly grow?
Dwarf Burford Holly is a slow grower, typically adding about 6 to 12 inches per year under ideal conditions.
Where is the best place to plant Dwarf Burford Holly?
The best place to plant Dwarf Burford Holly is in a location that receives full to partial sun. These hollies prefer well-draining soil with a slightly acidic to neutral pH. They can thrive in various landscape settings, including as hedges, borders, or specimen plants. Ensure the chosen location has enough space for the hollies to reach their mature size without overcrowding. Additionally, consider the aesthetics and functional aspects of your landscape design when selecting the planting site.
How far apart should you plant Dwarf Burford holly?
When planting Dwarf Burford Holly, space the shrubs approximately 2 to 4 feet apart, center to center. This spacing allows the hollies to grow and fill out while providing ample room for air circulation and future development. Keep in mind the mature size of the plants when determining the spacing to ensure they have enough space to reach their full size without overcrowding.
Do you need 2 holly bushes to get berries?
No, you typically do not need two holly bushes to get berries on Dwarf Burford Holly. While some holly species require both male and female plants for pollination and berry production, Dwarf Burford Holly is usually self-pollinating, meaning it can produce berries on its own without requiring a separate male plant nearby. However, having multiple holly bushes nearby can enhance cross-pollination and potentially increase berry production.
What is the best climate for Dwarf Burford Holly?
Dwarf Burford Holly thrives in USDA hardiness zones 7 to 9, which encompass regions with mild to moderate climates. These hollies prefer areas with relatively mild winters and warm summers. They can tolerate a range of conditions, including both full sun and partial shade, making them versatile for various landscapes. However, they may struggle in extremely hot or cold climates, so it's essential to provide them with proper care and protection during extreme weather conditions.
When should I plant Dwarf Burford Holly?
The best time to plant Dwarf Burford Holly is during the early spring or fall months. Planting during these seasons allows the holly to establish its root system before facing the stress of summer heat or winter cold. Spring planting gives the shrub time to settle in and develop new growth before the onset of summer, while fall planting allows roots to establish before winter dormancy. Avoid planting during extreme weather conditions, such as during freezing temperatures or heatwaves, to give the plant the best chance of success.
How do I prune my Dwarf Burford Holly?
Pruning your Dwarf Burford Holly can help maintain its shape, promote healthy growth, and encourage abundant flowering and berry production. Here are some tips for pruning:

Timing: Prune your Dwarf Burford Holly in late winter or early spring before new growth emerges. This timing allows the plant to recover quickly and reduces the risk of cutting off potential flower buds.

Tools: Use sharp, clean pruning shears or loppers to make precise cuts. Disinfect your tools before and after use to prevent the spread of diseases.

Remove dead or damaged branches: Start by cutting out any dead, diseased, or broken branches. Make clean cuts just above the nearest healthy branch or trunk.

Shape the plant: To maintain a neat, compact appearance, selectively prune branches to encourage a balanced shape. Remove any overly long or unruly branches, cutting back to a lateral bud or branch junction.

Thin out overcrowded growth: Thin out dense areas of growth by selectively removing some branches to improve air circulation and sunlight penetration. This helps reduce the risk of disease and encourages healthy, vigorous growth.

Consider the plant's natural form: Dwarf Burford Hollies have a naturally rounded, compact growth habit. When pruning, aim to preserve this shape while removing any unwanted growth.

Avoid excessive pruning: While Dwarf Burford Hollies tolerate pruning well, avoid removing more than one-third of the plant's foliage at once. Over-pruning can stress the plant and affect its overall health and appearance.

By following these pruning tips, you can keep your Dwarf Burford Holly looking tidy, healthy, and vibrant year-round.
Can you cut the bottom branches of a Dwarf Burford Holly?
Yes, you can prune the bottom branches of a Dwarf Burford Holly if necessary. Trimming the lower branches can help improve air circulation, reduce crowding, and enhance the plant's overall appearance. However, it's essential to prune the branches properly to avoid damaging the plant or affecting its growth pattern. When pruning, use sharp, clean tools and make cuts just above a leaf node or branch junction. Additionally, avoid removing more than one-third of the plant's foliage at once and consider the plant's natural shape and growth habits while pruning. Proper pruning can promote healthy growth and maintain the Dwarf Burford Holly's compact, attractive form.
Why does my Burford Holly have brown leaves?
Brown leaves on a Burford Holly can indicate several potential issues. One common cause is underwatering or drought stress, which can lead to leaf browning and wilting. Conversely, overwatering can also result in brown leaves due to root rot or fungal diseases. Additionally, environmental factors such as excessive sunlight, cold temperatures, or poor soil drainage can contribute to leaf discoloration. It's essential to assess the plant's watering, lighting, and soil conditions to identify and address the underlying cause of the brown leaves. Proper care, including adequate watering, suitable sunlight exposure, and well-draining soil, can help revive the plant and promote healthy growth.
Still deciding? Our plant experts reply fast on live chat. Chat with us